Step 1: Download & Install XAMPP
Visit https://www.apachefriends.org and download the XAMPP version suitable for your operating system.
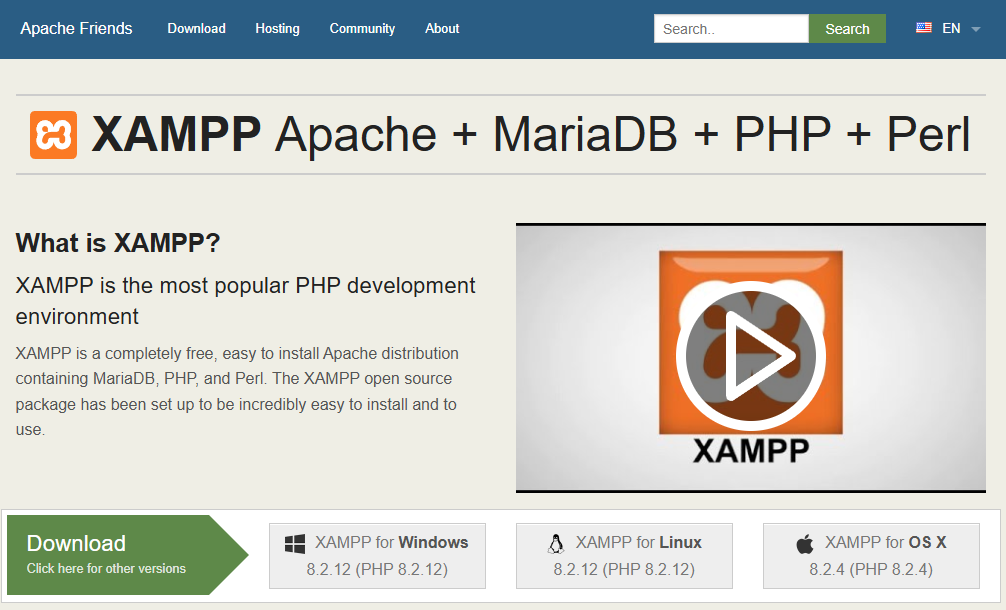
Run the installer and complete the setup (you can use the default settings).
Visit https://www.apachefriends.org and download the XAMPP version suitable for your operating system.
Run the installer and complete the setup (you can use the default settings).
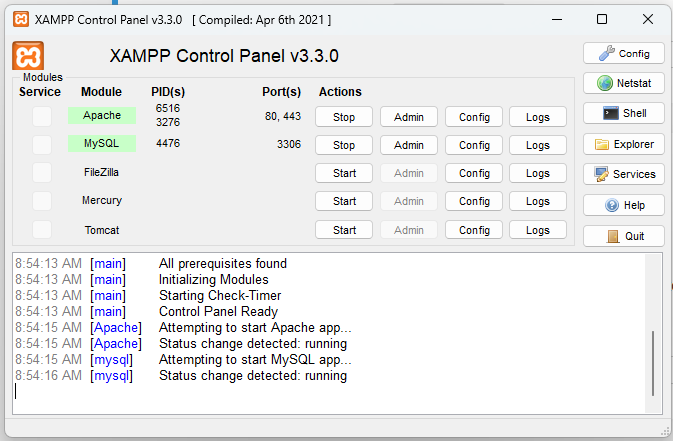
Open the XAMPP Control Panel and click Start for both Apache and MySQL modules.
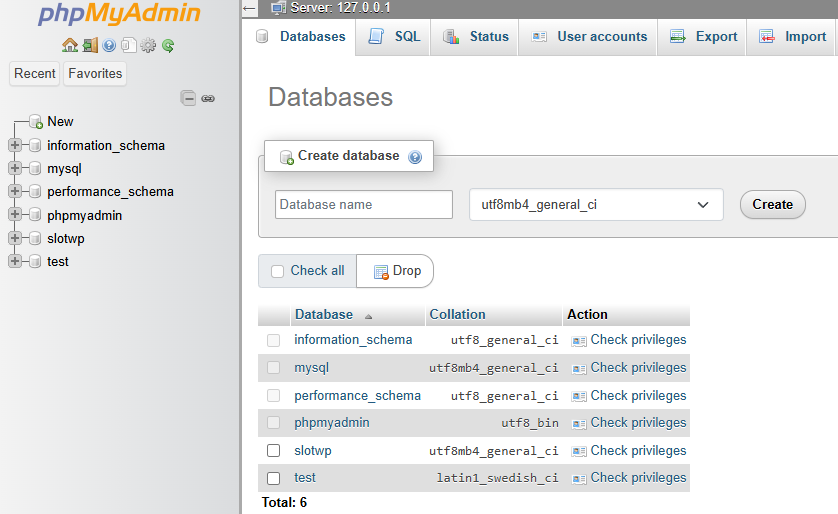
httpd.conf to 8080.Open your browser and go to http://localhost/phpmyadmin
Click Databases, enter a name like wordpress_demo, then click Create.
Go to https://wordpress.org/download/ and download the latest version.
Unzip the file and rename the folder (e.g., wordpress_demo), then move it into the XAMPP htdocs folder:
C:\xampp\htdocs\wordpress_demo
Open your browser and visit:
http://localhost/wordpress_demo
Select your language and continue to the database setup screen.
wordpress_demorootlocalhostwp_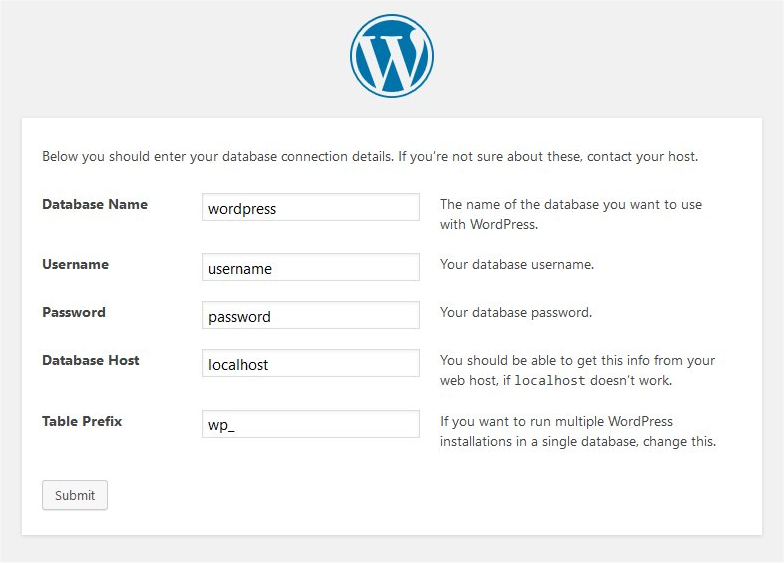
Fill in site information:
Click Install WordPress and wait for it to complete.
Login page: http://localhost/wordpress_demo/wp-admin
WordPress is now installed on your local machine. You can build and test your site before putting it online.